Blog posts
Marcos 2009 Seat Exeo without rear wiper
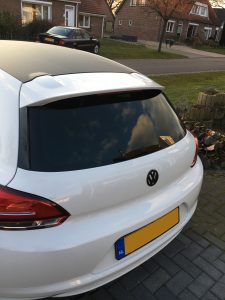
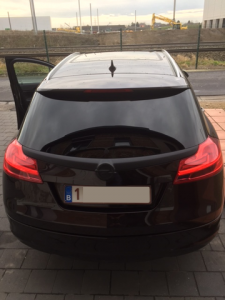
Marco wrote: Thanks for the phone call and the quick solution. Attached is a picture! Gladly for their homepage. We say: the Exeo, like any
Marco wrote: Thanks for the phone call and the quick solution. Attached is a picture! Gladly for their homepage. We say: the Exeo, like any

Hi, we need your help! We are missing confirmation of the rear wiper hole dimension in the rear window for the following vehicles. If

Hi, we hope you had a wonderful time between Christmas and New Year! We gave away 20 free de-wiper windshield wiper clearing kits (wiper delete

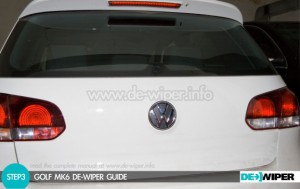
Dismantling the rear window wiper using the example of the Volkswagen Golf VI
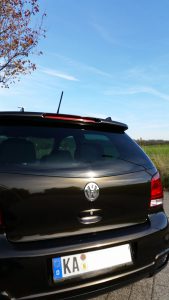
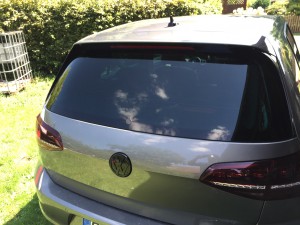
I finally managed to take pictures of the result, Looks great and fit without any problems!
Hello my dears I ordered a stopper from you and I am so fascinated by your product 🙂 I’m sure I’ll be ordering stoppers for
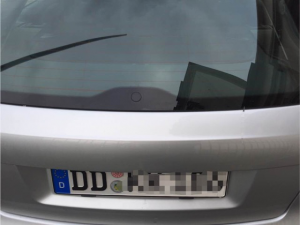
Peter from Tyrol sent us the following picture: Hello .. is it normal that the stopper protrudes slightly from the window? Mfg Peter Answer: Hi.

Hello, Here are a few pictures. With lettering and emblem, then without and to top it off with your glass stopper;) lg sascha
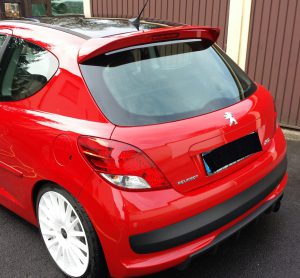
Thanks for the super fast delivery. It was also great. Glass stopper Opel Corsa D OPC
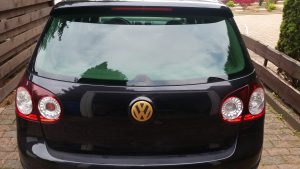
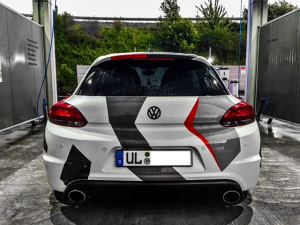
Hi there 🙂 Here are the pictures of my fat man without wipers. https://www.facebook.com/LarasGolf7GTIPerformanceProject/ Yours sincerely Lara
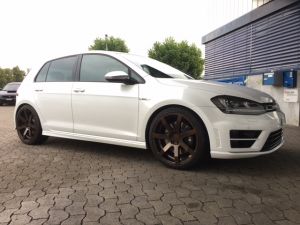
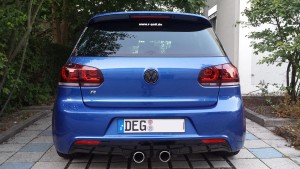
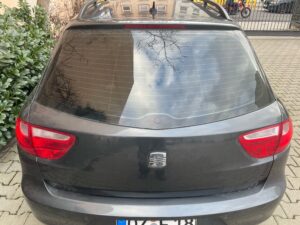
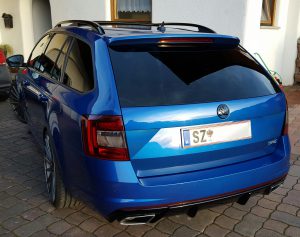
Good day, have received and installed their goods. I am very satisfied with the result! Here are some pictures of my Golf R7. Thank you

As requested the photos. MfG Bernd Hi Bernd! THANKS!

Hey first of all thank you very much! am super satisfied with the stopper. Greetings from Kiel Greetings back, Sven !!
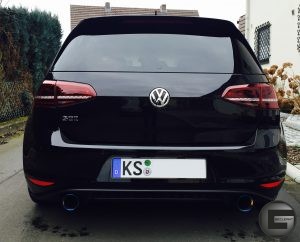
Here is the result of my car – without the rear wiper 🙂 Thank you so much! We like that. Very nice, Julia !!!
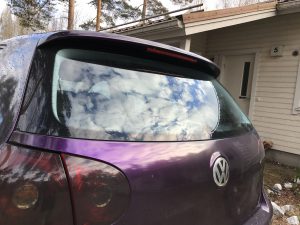
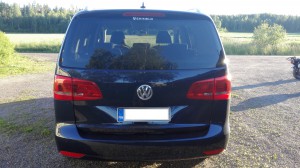
Here some pics after installation. 🙂 Im very pleased for the result. And its from Finland! Thanks for fast shipping! Hei Jaani, you’re welcome! We’re
Linos Insignia looks much better now with our de-wiper solution: the ultimative glass grommet Wishing you all the best & the result looks very
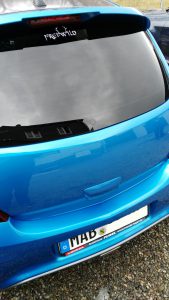
Easy install. Photo inside! Thanks! Kirill from Moskow Thanks in return, Kirill! Good lookin’ – your de-wipered froggy. 😀