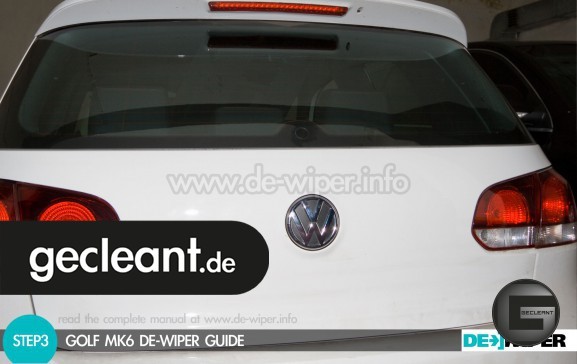
The entire process can be three parts divided into:
– removing the wiper
– removing the wiper motor
– installing the insert
1. Removing the wiper.
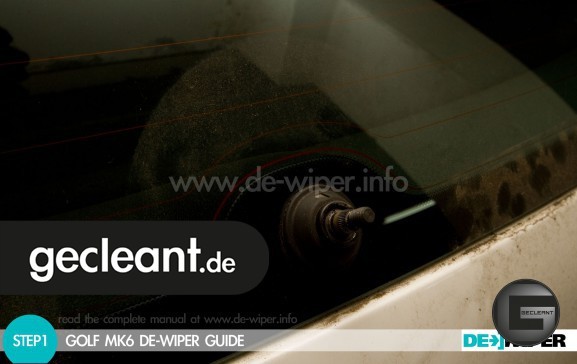
Lift the cap on the wiper arm and undo the M10 nut.

Then lift the wiper arm and gently move it in different directions.

The wiper arm should now release from the taper on the motor shaft.
2. Removing the wiper motor
Disconnect the vehicle battery.
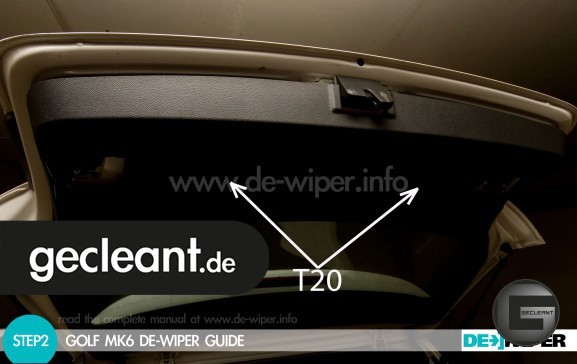
Open the tailgate and remove the lower tailgate trim panel.
To do this, remove the two T20 Torx screws in the handle recess.

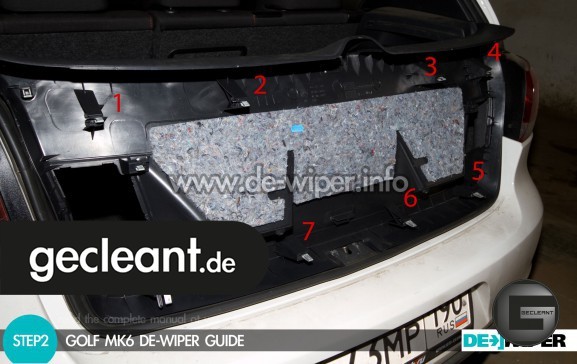
Slide a plastic trim wedge under the panel. It’s best to start at the lower edge of the tailgate. Pull the panel firmly but carefully. Leave the spring clips in place (8 in total). This is where the tailgate spring clips are located (inside view).
Something can always break, of course, but at ambient temperatures above 20°C it should not normally be a problem.
Then separate the tailgate trim from the window trim. You can now see the wiper motor.
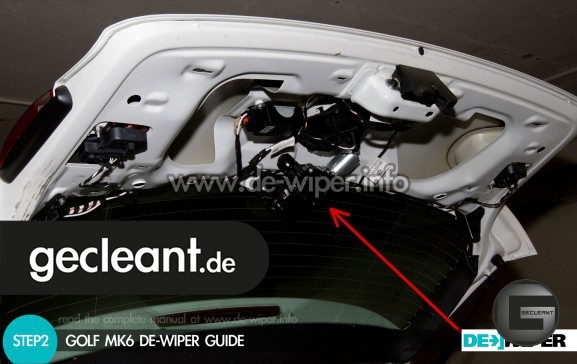
Disconnect the cables from the wiper motor.
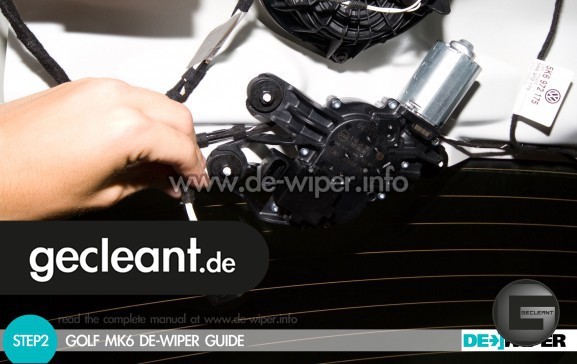
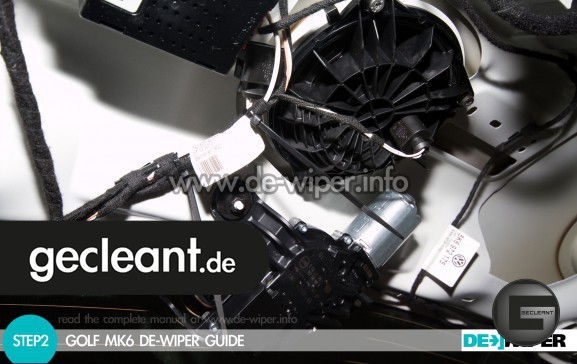
Secure the loose cables to an existing wiring loom using cable ties.
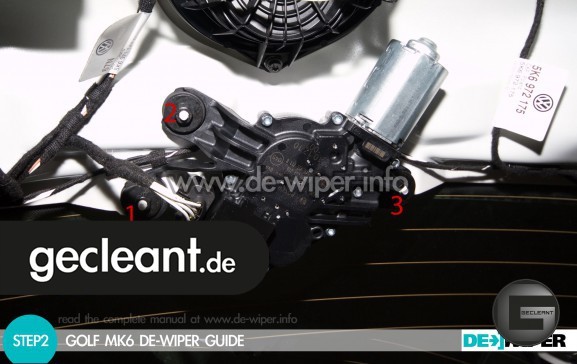
Then undo the three screws and carefully remove the wiper motor from the tailgate.
3. Installing the insert
Thoroughly clean the window and insert beforehand with a solvent-free cleaner.
Then, from the inside, apply a narrow bead of adhesive to the glass approximately 1 mm from the edge of the hole.
Press the carefully cleaned insert into the hole from the inside and align it.
Notes: Do not apply too much adhesive to the glass, otherwise it may come into contact with the visible face of the insert when you press it in. There should still be enough adhesive to create a continuous bond all the way around.
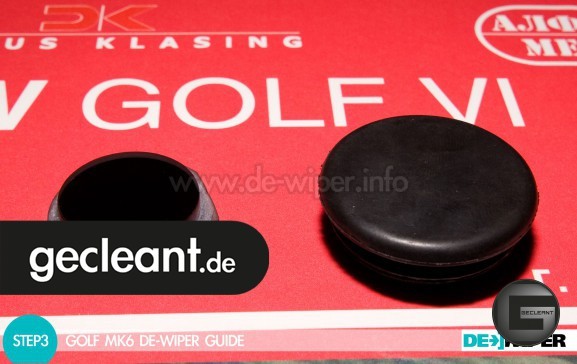
If some adhesive squeezes out on the inside, that’s not a problem. You can spread it around the insert for additional support. (The remaining adhesive in the 3 g tube is also suitable for this.)
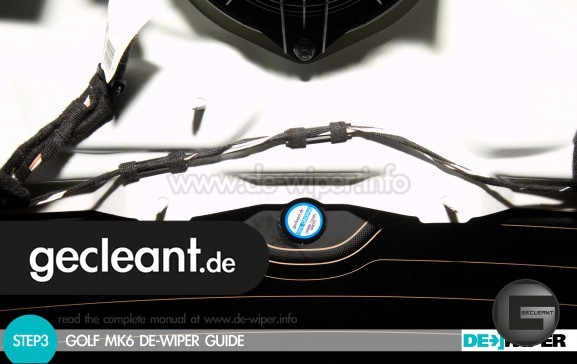
Wait until the automotive glass adhesive has fully cured. Refit the tailgate trim in reverse order, making sure the spring clips are correctly seated.
Enjoy the clean look of your car!
Also available in: